Showing posts with label preserving. Show all posts

Thursday, November 2, 2023

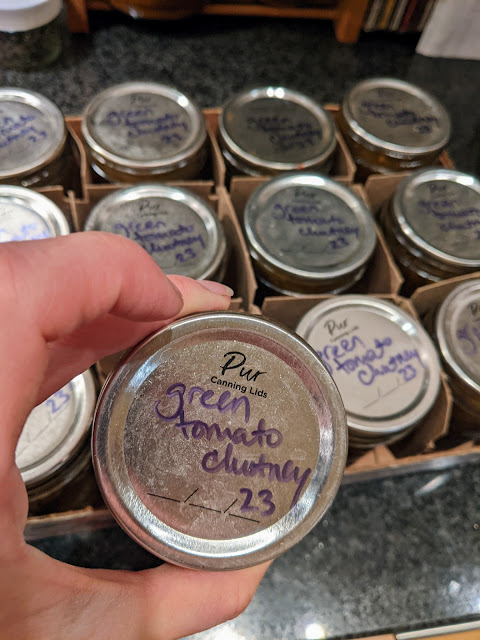
Green Tomato Harvest Ideas: Chutney

Now that I am learning about native plants and reading people like Doug Tallamy, I let my plants stand and die in their spots.

They provide homes for insects and food for other critters over winter. In the spring, they are reduced sufficiently to break down into soil or something - it must be easy because I don't have a memory of any hard work associated with them in the spring. 

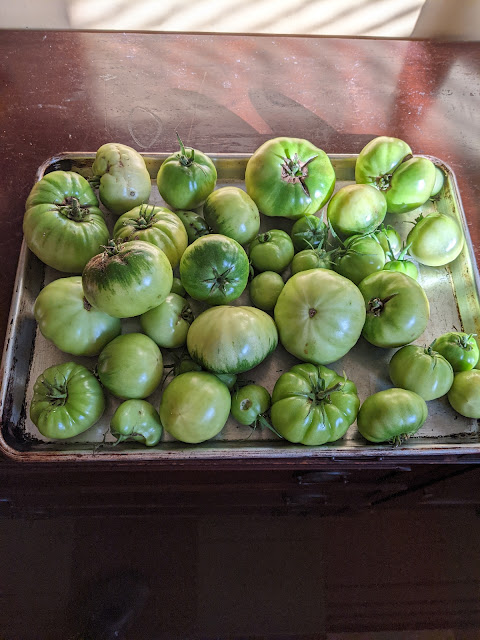
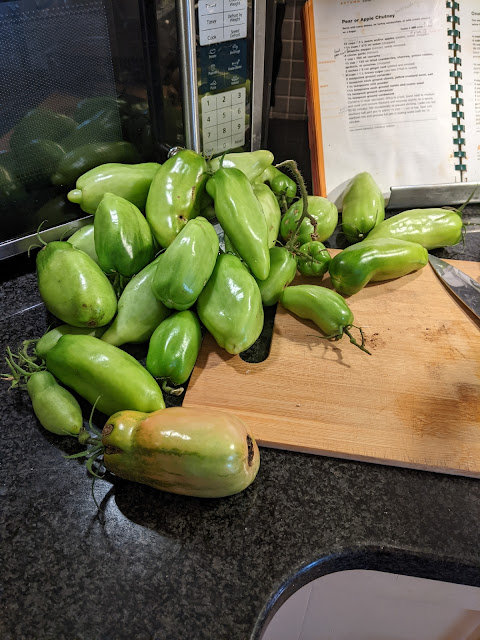
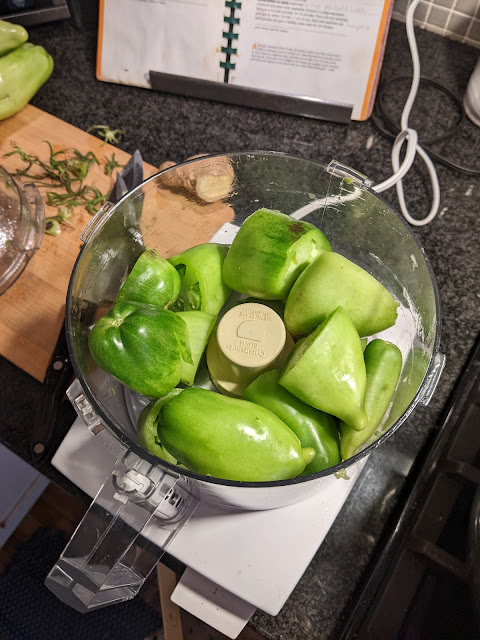
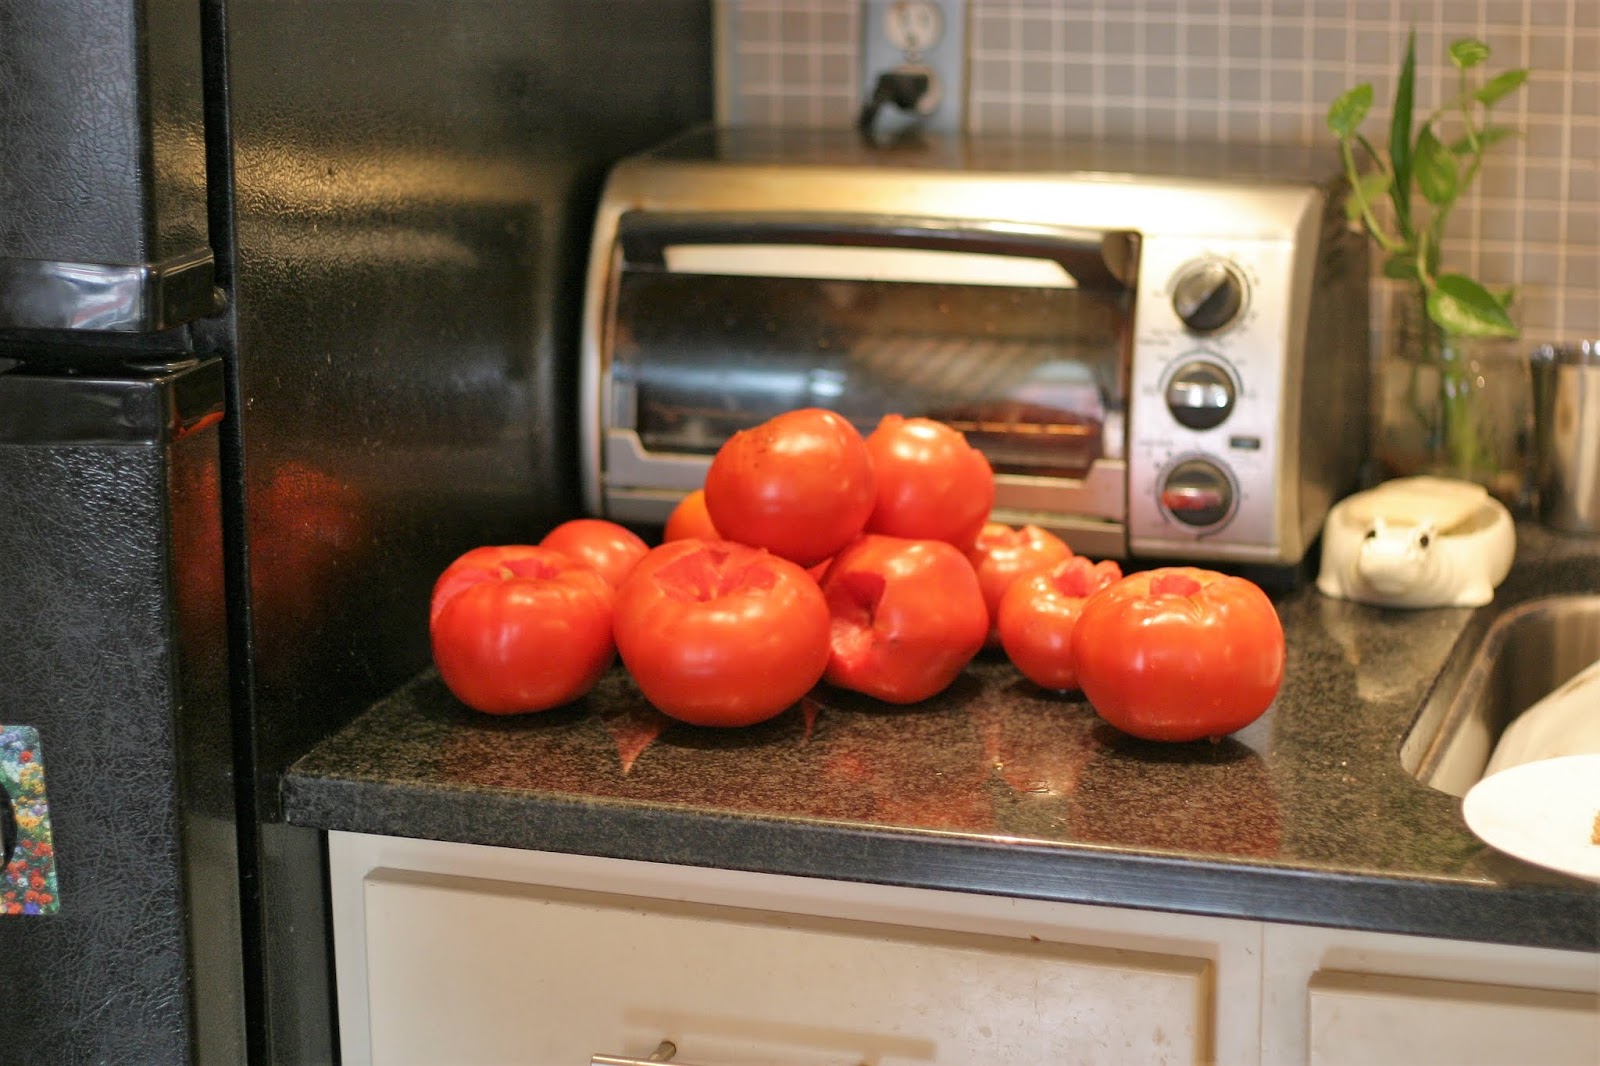
So I had green tomatoes right up until frost. My husband brought in my huge bread bowl full. They are very versatile!

You can make salsa verde, to eat fresh or can. You can make green tomato curry or dhal (google for recipes), or you can chop them up and freeze them as is, no blanching required, to make that recipe in the future. You can pickle them as fridge pickles or to can if you don't have fridge space. And yesterday, I used a bunch to make chutney. 

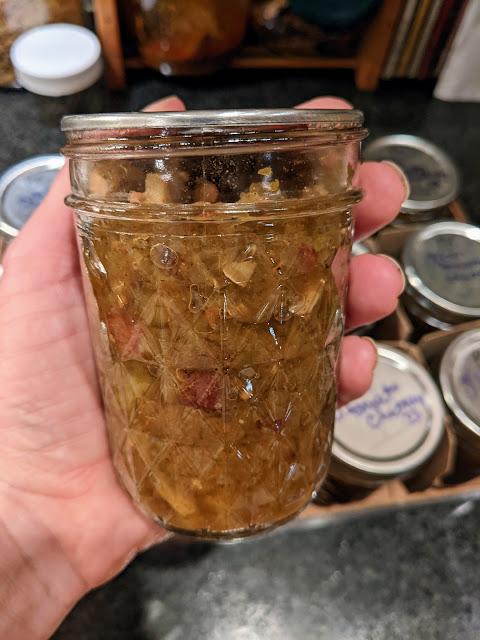
I got the idea from my old Mennonite cookbook, Mennonite Community, that has green tomato pie which closely mimics apple pie. I have an apple chutney recipe I love, so I researched a bit and decided I could use green tomatoes instead of apples in my recipe. It worked GREAT. 


I did taste it at the end of cooking, tweaking the taste with a bit of salt and a few more sprinkles of cumin and chili powder. We'll eat this chutney next to Indian dishes this winter, with naan or with rice and curry. 

My freezers are full to the brim, so I was glad for a canning method for the green tomatoes. I think I'll can some pickles next. 


Green Tomato Chutney, adapted from Simply in Season

Combine in large pot, preferably wide:

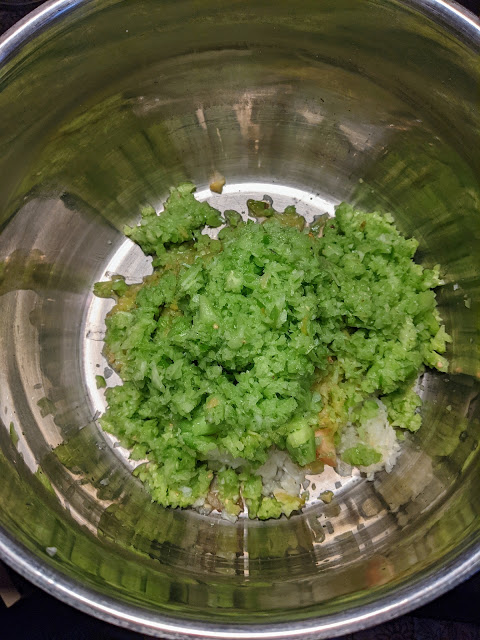
12 cups finely chopped green tomatoes (I use my food processor)

1 1/2 cups chopped onion

4 cloves garlic, chopped

1 cup raisins

2-3" piece ginger root, minced

2 1/2-3 cups dark brown sugar

1/4 cup apple cider vinegar

2 tsp. ground coriander

1 tsp. ground cloves

1 1/2 tsp. yellow mustard seed

1 tsp. salt

1/4 tsp. cayenne pepper

1/4 tsp. black pepper

1 1/2 tsp. chili powder

1 1/2 tsp. ground cumin

1 1/2 tsp. cumin seeds

1/2 tsp. ground cinnamon

1/4 tsp. ground cardamom

Bring to a boil, covered. Then reduce heat and simmer until softened, thickened, and will mound slightly on a spoon. Keep covered if the mixture is not very liquid-y, or remove lid to evaporate some liquid (depends on the green tomatoes - mine were on the dry side). Stir occasionally for up to 1 hour. To can, process in pints or half-pints in boiling water bath, 15 minutes for half-pints, 20 minutes for pints. 

Thursday, September 23, 2021

Fun With Okra

Without exception, my family loves okra. Okra loves hot weather, which is why it is such a Southern thing, but it is possible to grow it around here and I have found it from some local farmers occasionally. But to really ensure an adequate supply, we have started growing it in our backyard!

green beans on left, tomatoes in back, okra on front right

Our first crop was last summer - we started the plants from seed, mainly my husband driving this with his outsize love for okra, and were astonished at everything about them. The okra plants get about 8' tall and their stalks are woody like trees, so it's not easy to get them out of the garden in the fall. The pods grow from gorgeous hibiscus-like flowers. And the pods grow fast. We try to harvest them at 3-5" long, but even when we miss some and they are longer than that, they have stayed tender and not woody, thank goodness. 

This picture has a funny story. I picked the garden in the morning, and then I wanted a picture of a person with the okra plants to give you some idea of their height. I brought my husband outside to help, and I am struggling to hold all the okra pods he found after I thought I had picked all of them! He called me "okra-blind," oh my word. I retorted that the pods grew big enough in the few hours between pickings! Also, we are getting about a quart of okra pods daily right now from 10 plants. Amazing.

Okra pods keep pretty well in the fridge. My go-to recipe is to slice the pods in coins, toss with some flour and cornmeal and a seasoned salt or equivalent, then fry in a hot oiled pan until they get some crispy, browned edges. We never have leftovers!

Extremely proud to have okra, green beans, and tomato pesto (on pasta) all from our backyard garden!

Another easy method is to oil the pods lightly, salt and pepper, then grill until they are browned in places and even splitting open a little. So so so good. 

When time permits, I make gumbo. And I was astonished to see at this linked blog post that we also grew okra in 2010. I have no memory of that whatsoever! 

This year, I also pickled some okra because there was so much on hand. I used the Ball Blue Book recipe, which is essentially the same as the dilly beans I like to can.

If you have okra recipes to recommend, please do!


Public service announcement: I absolutely re-use my canning lids if they are free of nicks, dents, rust, and the like.  I have been doing this for years. There was (is?) a canning lid shortage due to the pandemic, but I recommend this practice for economical reasons even when there is not a shortage. I have found no difference between lids that went through a waterbath or through the pressure canner. The main thing is to reuse lids in good condition. Iffy lids are used on jars that are used for food storage in the freezer or elsewhere, or recycled in my metal bin that I take to a salvage yard.


A word about how I did those okra pickles: I looked at the recipe one night, pulled the jars from the basement the next morning while waiting for the coffee, washed them later in the morning while on a phone call, stuffed the okra pods and garlic cloves in the jars in the afternoon before picking up Phoebe, mixed the brine and filled the canner after picking up Phoebe, and finally assembled the jars and canned their butts right before we went out the door again to Ben's game. It goes to show that little chunks of time can add up to a finished project. Dogged determination gets everything done, right? We choose what we spend our precious time on, and food preservation is important to me, but dang, family life is busy. 

Friday, November 8, 2019

Salsa Verde Schools Me

The kids had off school due to elections, the sun was shining, and a real freeze was bearing down on us.  Clearly time to put the garden to bed.

When we were done stripping the tomato jungle that afternoon, I had a heaping dishpan full of little green tomatoes as well as a basket of bell peppers and a handful of berries.   

So I recalled a conversation with a market farmer back before life took a turn into crazy with sports; I was listing all the problems I had experienced with canning salsa and declaring that was IT, no more canned salsa, when she said simply that she'd never had a problem with tomatillo salsa, salsa verde.  Then she said she uses Marisa's recipe from Preserving by the Pint, which I already own and love. I use green tomatoes and tomatillos pretty much interchangeably - my research tells me they are cousins, and I know from experience they have a very similar flavor and texture.

Now staring down the heap of green tomatoes in my kitchen, I plunged in.  First I recruited Ben to take my Visa (no cash, wanted the points, knew the standholders and guessed they'd be ok with it) and go back to market for me to get cilantro, garlic, onions, and poblanos. Then on the way to pick up Genevieve from a friend's house, I stopped at the Latino market and got 20 limes for $2. I know that canning recipes specify bottled lime juice for the acid predictability, but I couldn't bear to drive further to a grocery store and buy plastic packaging with my lime juice. Marisa's recipe did not have cilantro in it, and I do love cilantro in salsa verde, so I grabbed a recipe online from Montana Homesteader. 
Photos with  me in them taken by Ben - good job, buddy!

I used a red poblano to make a batch of Marisa's salsa verde. Then I made the rest of the tomatoes into Montana's recipe with green poblanos, running the food processor like a crazy woman and getting Phoebe to pull some stems off tomatoes. 

I sent Ben to the basement for more wide-mouth pints; he came back with a measly one jar.  Certain he just wasn't looking, I sent Genevieve down (all the while pushing buttons and heating up leftover supper and watching the boiling water vat on the stove), and she came up totally empty-handed.  People, I used up all my wide-mouth pints! I thought I was over-supplied with jars! I finished up the canning with half-pints. 

The first canner-load had a jar bust in it, and I thought darkly of the salsa curse, but the rest of the jars sealed beautifully.

And then I snapped back to reality: I had not measured the lime juice, nor had I used bottled lime juice, and I had canned it in a water-bath.  Botulism visions danced in my head! I was so angry at myself for not doing more research, for not measuring the lime juice. I can low-acid foods in my pressure canner to negate botulism!  Why oh why didn't I find a salsa verde recipe that was pressure canned?  I decided I had to freeze my beautiful salsa verde, treat it like fresh, not canned, food.
 

But first, I talked to Rebecca, who listened to my woes and recriminations and seemed not all worried about it ("Are you sure it's a low-acid salsa? Green tomatoes are tart!"), but shrugged and said, why don't you pressure can it if you're worried?  The heavens opened and a light of reason shone on my head.  So I carefully broke the seal on all my salsa verde jars and pressure-canned their butts.


Here are my take-away thoughts:
find a salsa verde recipe before next fall  that uses cilantro and the pressure canner and not lots of lime juice to keep botulism fears away. Roast or grill the poblanos for a hit of smoky flavor.

Thursday, October 24, 2019

What I Did Yesterday

Friends! I was swept under the tide of big kids' activities this fall, and I dropped everything I could to keep my nose above the water.  For me, that meant keeping up with the laundry, good food, and bills/paperwork, and everything else had to wait. I'm eager to get back to you!  

Last week, Phoebe and I picked out a custom blend of apples to make applesauce: Fuji, Grimes Golden, Gold Rush, and Smokehouse. Twenty bucks for two bushels of apples, a good price.  I really should have read my canning notebook more closely, though, because I would have met my applesauce goal with 1 1/2 bushels.  In the spring sometime, I take inventory of the preserved food in freezer and cupboard, and then I set some targets for the year's preserving.  


So I stashed the apples in the basement until I could clear a day to make applesauce.  Phoebe was keen to help, hooray, so I planned for a day when she did not have preschool, but her help couldn't extend much beyond washing jars.  Hot apples in a food mill are too much for a four-year-old.  

I made a grand total of 33 quarts of applesauce yesterday.  Oh, I was tired! I did not do laundry, go food shopping, or editing.  I stood in the kitchen and canned.  But the resulting applesauce, from those four kinds of apples, is so delicious: deeply rich apple flavor with no sugar needed, thanks to the sweet Fujis.  And now my canning goals for the year are all crossed off.  

Putting some tomato-canning photos in here as well!


Here's my list from this year, basically in chronological order: 
7 half-pints strawberry freezer jam
18 pints frozen blueberries
13 pints frozen sour cherries
25 pints frozen corn
17 pints dilly beans
3 quarts frozen green beans
8 pints pickled red beets
9 pints bread & butter pickles
3 half-pints blueberry syrup
5 half-pints pickle relish
10 pints 7-day sweet pickles
5 half-pints duck sauce
2 quarts frozen grape pie filling
3 quarts grape juice
4 half-pints spiced grape butter
21 pints pizza sauce
14 quarts tomato soup
28 quarts whole tomatoes
7 half-pints pimentos
3 half-pints peach jam
33 quarts applesauce


And I'm back on the laundry today, with a grocery shop planned as well. 

Friday, August 16, 2019

The Summer of the Cucumbers

I have accidentally not blogged since June! Hello! How is your summer going now that it is ending? Mine was really nice and I have no reason for the lack of blogging except perhaps I was buried under a heap of cucumbers?


My family loves kosher dills/fermented cukes/sour pickles so much, and I had a hard time finding good pickling cukes, so I decided to use my raised bed space for cucumbers instead of green beans this year. I have tried cucumbers maybe once or twice before and got basically nothing: the vines wilted or the leaves got powdery or something ate everything.


Well. I planted the whole packet of Parisian Pickling Cucumbers, timing them to be ready once we got home from our big Seattle trip (there's a post!) and figuring that I'd only get a handful anyway if I was lucky.  Well no.  Turns out, this is The Summer When All the Cucumbers Grow.  All my friends who planted cucumbers are overflowing and pickling and laughing in disbelief.

As a cucumber novice, I am not very good at getting the buggers at the little pickling size I wanted. Overnight, they grew six inches into logs!  Which were bitter and seedy and tossed on the compost pile.

I made gallons and gallons of fermented cukes (method below).  I also made two batches of bread and butter pickles from the Mennonite Community Cookbook, as well as 7-Day-Sweets, a childhood favorite that involved pouring boiling water over the cukes several days in a row to make them crisp.  Why does this work?  I don't know, but it does.


I made pickle relish, fridge pickles, and salad after salad.  Because I planted so many plants close together and did not water them regularly, but regularly let some of them get too big, I had to deal with bitter cucumbers.  I tried cutting off the stem end and then rubbing it on the cut end until a bitter white foam came out.  I tried salting sliced cukes and then rinsing them.  My best success was slicing cukes and soaking them in salted ice water for about an hour, then draining and rinsing.


Last week, the cucumber plants finally showed signs of slowing down, so I yanked them out.  I still have over 1 1/2 gallons of fermented dills in the fridge, plus fridge pickles, and a crisper drawer full of cucumbers.  On my to-do list:  "decide what to do with cukes."  I guess we will eat pickles for every meal this winter?

Did you plant cucumbers this year and get a roaring crop? Or is something else bursting from your garden?


Fermented Dill Pickles

In a half gallon glass jar, combine:
1 Tbsp. fine sea salt (not iodized)
1 quart room temperature non-chlorinated water
1 Tbsp. dill seeds
1 tsp. dill weed
1-2 garlic cloves, sliced

Stir and/or set aside until salt is dissolved.

Wash and trim ends from small pickling cucumbers - I usually kept them under 4" and a thumb-size diameter. Drop them into the brine, shaking and pushing to fill up the jar but making sure they can all be submerged. May need to add a little more water and salt.   Keep the pickles submerged under brine by filling a smaller jar with water and capping it and setting it in the jar on top of the pickles.
Set jar in room temperature for 48 hours.  Should see foam and bubbling action.  Scrape off the foam before capping and storing in fridge. Keeps indefinitely in fridge. Sometimes I use a cup or so of the brine in a new jar of fermented dills. If you have fresh dill, use 2 heads or so in place of the dried stuff.

Thursday, May 9, 2019

Lemon Rhubarb Marmalade

I am trying the third time with a rhubarb plant in my back yard.  This year, there is no black walnut tree to poison things, so we shall see. 


In the meantime, I buy rhubarb at market.  And I overbought lemons for Ben's birthday party.  So this recipe from Food in Jars' Preserving by the Pint jumped at me - I've been looking at my preserving with fresh eyes since I read Marisa's new book, The Food in Jars Kitchen.  I've got a rather crowded schedule these days with three freelance projects right on top of each other, but this recipe is done in in flexible stages, so I thought I could pull it off.


I didn't take the time to slice the lemon peel really fine, but fortunately, it cooked down soft and I like it.

The color of this marmalade is so pretty, and I can attest that it is delicious. It pleases me that there's no pectin involved other than what's in the lemon seeds (tied up in cheesecloth when the jam boils) and pith - and the viscous nature of cooked rhubarb.

 
A lovely slice of toast on a chilly spring day with a cup of hot chocolate and a fascinating book to edit.

Thursday, April 4, 2019

New Cookbook Review: The Food in Jars Kitchen

The Food in Jars Kitchen is a cookbook after my own heart: it uses little bits of food in clever, flexible ways and gives the home-canned pantry lots of work to do.  I've been keeping track over the years of what my family eats, so I've cut back on making jam because we don't go through much toast and jam.  Marisa is evangelical about people like me in her Introduction - there's so much more to do with jam than toast! She is giving me an "empty-jar-to-empty jar education."


When my copy came in the mail, I put my nose in it and my pencil to paper as I jotted down all the recipes I could make right away.  There are so many! I did make three before I wrote this post, and I will make all of them again.

Also, please note: I received this book free as a review copy, but my opinions and my decision to write a review are my own.


First, I made Popunders.  Isn't that the most adorable name? I made them one morning at breakfast time and while we did, indeed, spoon a little jam in their little hollows, I could also see a dab of cheese or pesto or a bit of anything that I would put on bread.  Popunders are super-fast to whip up, sugar-free, made with pantry staples and standard muffin pans, and just need 20 minutes in the oven, no-preheating needed.

 Even though Marisa recommends them hot from the oven, we found they made a perfectly fine snack at room temperature a few hours later.


For a family gathering, I made the Concord Grape Butter Pizza with Camembert.  Oh! that was delicious! When I make and can grape juice in the fall, I use the spent skins to make grape butter, so I've got plenty of grape butter on hand.

I followed Marisa's pizza crust recipe instead of using my standard favorite, and it was the perfect thickness and texture for its toppings as well as easy to make and handle.  Marisa also explains the ratio of sweet spread to cheese to green topping which is helpful to cooks who want to go off-recipe.  I used Brie instead of Camembert and chopped arugula instead of baby arugula.  So, so, so delicious. I will definitely be making this for future neighborhood potlucks.


Yesterday, I made Marisa's Jam-Lacquered Chicken Wings for supper (excellent name!). I buy whole chickens and when I cut them up to cook, I've been collecting the wings separately in the freezer.  I've never made wings before, just threw them into stock, but I was determined to try since Ben has requested wings several times. 


Marisa's recipe was very clear and produced excellent results.  I didn't know meat can literally cook under the broiler - I typically just use the broiler to brown something.  But the wings cooked under the broiler exactly as Marisa indicated.  To paint the wings, I finished up jars of fig jam and grape butter and added some tomato jam as well as enough runny pepper jam (from 2013! it was waiting for its destiny) to give them a nice kick.


Next time, I will salt the wings on both sides and also broil them on both sides to increase the caramelization.  I find it annoying to get my fingers so messy for such a little bit of  (ok, delicious) meat, but my family was loving these wings, so ok, I do love seeing my people enjoy their food. Too bad my fingers were too sticky to operate my camera!


There is really a lot more to love in this cookbook.  I'm going to use my onion jam in a Goat Cheese Savory Jam Tart, and I'm going to consider all the options for a jar of apple butter that I don't think we will spread on toast.  I appreciate Marisa's inclusion of some basic canning recipes in the final section because I have a deep yearning for Orange Marmalade Ice Cream and no marmalade in my pantry.

 I have two small quibbles with the book, both of which are typical of me and typical of most cookbooks being published (and probably not Marisa's decisions, either).  I prefer spiral bound cookbooks for kitchen use because it's tricky to get a stiff hardcover book to stay open while I cook. But good job keeping the recipes mostly on the same spread! It's also very tricky to turn pages between ingredient list and instructions while cooking.   I also prefer a very detailed index that includes major ingredients as entries so that I can look up recipes based on the ingredients they use, not just the recipe name or type.

I highly recommend the Food in Jars Kitchen cookbook.  It's beautiful to look at and full of recipes for daily cooking - from quick-the-kids-need-a-snack to the fancy-food potluck happening on the weekend. 
Thursday, January 24, 2019

Kitchen Spot for the Canned Goods

Part of the pleasure of canning for me is seeing the actual filled jars, so pretty in all their hues.  My husband hung a small shelf in the kitchen so I could see the jars and also so I didn't have to run to the basement every time I needed one.


To get to my basement canning storage, I have to go to the back door, put on my outside shoes, walk through the weather to the big heavy cellar door, and go down the steps to the basement. I go down there multiple times a day, actually.  The freezers are down there, the empty jars, so many things.


I'm just really thrilled to have this sample collection of canned goods right here in my kitchen.  The other night when I remembered there were some Christmas gingerbread cookies in the freezer yet, I plucked a quart of applesauce off the shelf to go with them.  Easy peasy.  No outside shoes required.